
Listen up, this quick and easy Pressure Cooker Coconut Rice is your new meal staple. It’s perfect for pairing with any protein or veggie, and the delicate coconut flavor elevates it beyond just boring plain rice. This rice is full of flavor and perfect for weekly meal-prep or cooking for a large group. Don’t let the title sway you, while the coconut milk offers a hint of coconut flavor, the main reason it’s on the ingredient list is for the fat. Coconut milk and a little salted butter make this rice luscious. Pair it with simply grilled meats and roasted veggies or serve it up under your favorite taco bowl inspired meat for a mash of flavors. Whatever the meal, you can bet this rice recipe is part of it somehow!
The grocery list.
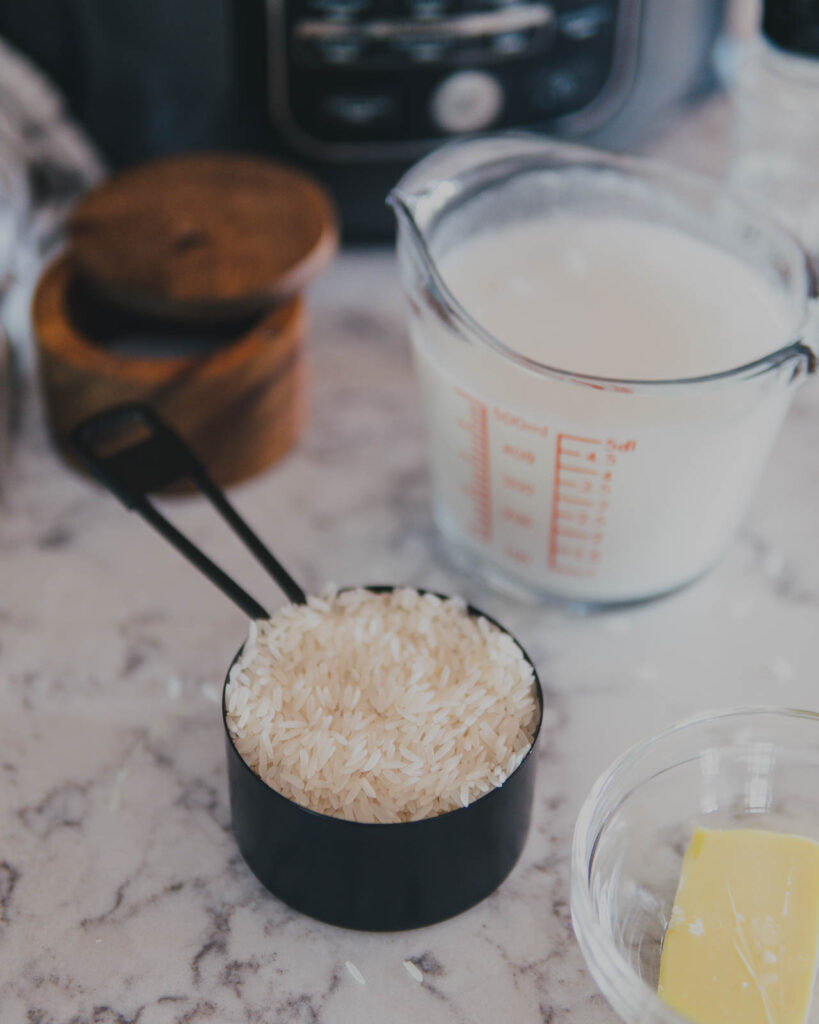
- White rice (jasmine or basmati) – What type of rice should you use for this Pressure Cooker Coconut Rice recipe? Well, that’s up to you! The difference between jasmine and basmati rice is their shape. While they are both long-grain rice, basmati rice is slightly longer than jasmine, which is short and round. The grains of basmati rice elongate more when they are cooked, producing a softer and fluffier rice than jasmine. Really, there isn’t much of a noticeable difference, so follow your personal preference!
- Water – To cook your rice.
- Coconut milk – Coconut milk is what makes this Coconut Rice! Not only does it add a rich coconut flavor, the coconut milk makes your rice slightly creamy. Check out Thrive Market for good quality foods without preservatives and additives!
- Salted butter – Adds to the richness of the rice.
- Kosher salt – This recipe needs just a bit of salt and pepper.
- Black pepper
How to serve Pressure Cooker Coconut Rice.
As mentioned, we eat this rice with every meal. There is a slight coconut flavor but mostly it’s just luscious. The flavor itself isn’t strong but the way the coconut fat and butter fat bring a simple a plain side dish to the next level is… well, next level! Here are a few of our favorite meals to serve with this Pressure Cooker Coconut Rice.
SANTA MARIA PORK LOIN ROAST WITH CHIMICHURRI
Fully flavored pork and an herby sauce, this rice balances all the flavors and makes sure to sop up all the sauce for a clean plate at the end of the meal.
AIRCRISP TERIYAKI MEATBALLS
These meatballs are great on their own but even better when served on top of a quick stir-fry of rice and veggies. Using pre-cooked rice is a fast way to get dinner on the table. Cook stir-fry veggies in a pan, add the cooked rice and a little teriyaki sauce and you have yourself a complete dinner with little hassle.
DUTCH OVEN CHIPOTLE CHICKEN
This dutch oven chipotle chicken is spicy and saucy and this rice is the ideal balance for all those flavors!
The preparation.
This recipe is super simple. All you need is your pressure cooker and bada bing bada boom you have your Pressure Cooker Coconut Rice! I use a Ninja Foodi pressure cooker, but you can use whatever brand of pressure cooker you have in your kitchen.
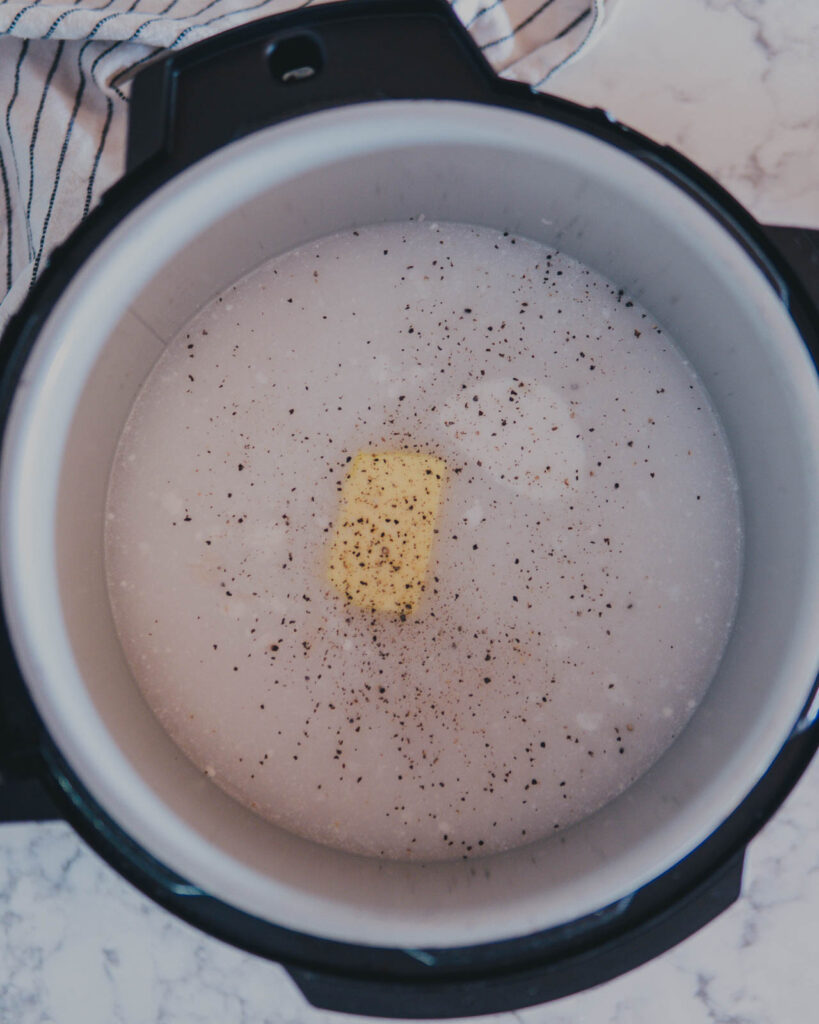
To make this delectable Pressure Cooker Coconut Rice, all you have to do is toss all the ingredients into your pressure cooker. Yup, it’s that easy!
Place all the ingredients into your Ninja Foodi, instapot or whatever you’re using. Place the lid on and seal to close. Make sure the pressure valve on the cooker is set to SEAL.
Select “pressure cook” and set to HIGH for 10 minutes.
When the pressure cook has completed, allow the pressure to release naturally for 10 minutes before moving the pressure valve to VENT.
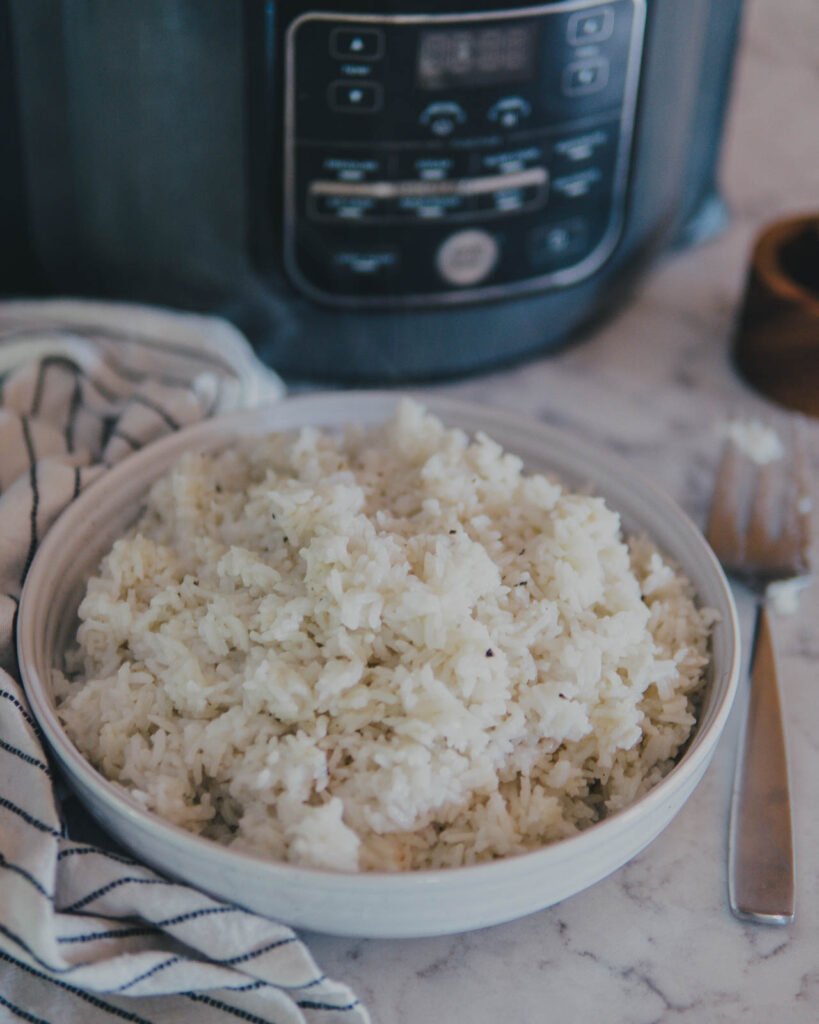
Fluff the rice with a fork and serve HOT!
Believe it or not, you can have this tasty side dish ready in just 20 minutes and all you have to do is toss all your ingredients in the cooker and press a few buttons! The best part about this rice is while it’s cooking, you can prepare the rest of your meal. It’s not something that takes up too much of your attention, the pressure cooker will take care of everything!
Pressure cooker alternative.
No pressure cooker? No problem! Until very recently, my preferred method for cooking rice was simply on the stovetop. The instructions are very straightforward and the only difference compared to the pressure cooker is simply the time.
For stovetop, add all the ingredients to a saucepan and bring to a boil. Stir the pan and reduce the heat on the stove to low/simmer. Cover and set a time for 20 minutes. Resist the urge to remove the lid, doing so could result in an uneven cook. When the timer rings at 20 minutes, turn the burner off and remove the covered pot from the hot burner. Set a timer for 20 minutes and allow the rice to sit, covered for an additional 20 minutes.
Once the rice has rested, remove the lid and use a fork to fluff the rice before serving.
Looking for more side dishes?
Here are a few to try:
Roasted Sheet Pan Veggies w/ Pepperoncini Italian Dressing
Garlic Parmesan Roasted Cauliflower
Cherry & Cherry Tomato Caprese
Lastly, if you make this Pressure Cooker Coconut Rice recipe, be sure to leave a comment! Above all, I love to hear from ya’ll and do my best to respond to every comment. And of course, if you do make this recipe, don’t forget to snap a pic and tag me on Instagram! Looking through the photos of your dayyyummm good recreations is my favorite!
This post contains affiliate links that will not change your price but will share some commission.

Ingredients
- 2 cups white rice (jasmine or basmati)
- 2 cups water
- 1 (15 ounce) can coconut milk (full fat or reduced)
- 2 tablespoons salted butter
- ½ teaspoon kosher salt
- ¼ teaspoon black pepper
Instructions
- Place all the ingredients into the bowl of your Ninja Foodi (or instapot). Place the lid on and seal to close. Make sure the pressure valve is set to SEAL.
- Select “pressure cook” and set to HIGH for 10 minutes.
- When the pressure cook has completed, allow the pressure to release naturally for 10 Minutes before moving the pressure valve to VENT.
- Fluff the rice with a fork and serve hot!
Notes
Nutrition Information: serves 6 / 107 cals / 5g F / 14g C /2g P
7 comments
I made this w/ Calrose plus (brown/white medium grain) with light coconut milk and 1 tablespoon of butter. It turned out creamy and delicious with some grilled chicken , tamari, garlic chili sauce and fresh cilantro from my CSA box. I think this coconut rice may become a staple in my rotation. Maybe next time with regular coconut milk and all the butter.
Advice for making this just on the stove?
Britteny– stove instructions are in the blog for you!
Do you use the cream that settles on the top of the can of coconut milk?
I do about 50% of the time! it does make the rice a little creamy so just depends on what I’m making if I want a real bunch of coconut flavor or just a hint.
Have you ever made this with brown rice instead of white rice? If so, do you make any modifications?
Heather, I have not but let me know how it works for you! -Sammy