
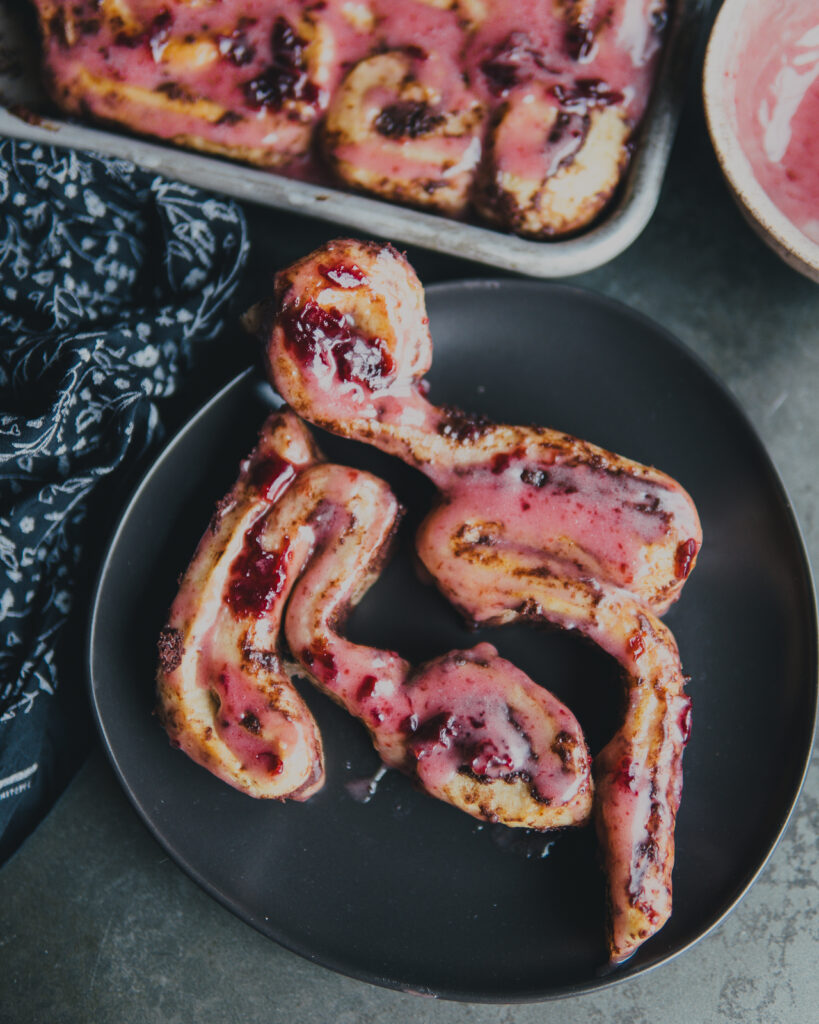
Make Halloweekend brunch just a little more fun and a lot more gruesome with these Gory Guts Cinnamon Rolls. A two ingredient recipe makes this grotesque treat a walk in the haunted park. Grab a batch of pre-made cinnamon rolls and some bloody jam and get to work. Unroll the perfectly crafted buns and get creative with your gory guts. We used cherry jam to mix with the glaze but you could also use red food coloring to really make your guests squirm!
The grocery list.
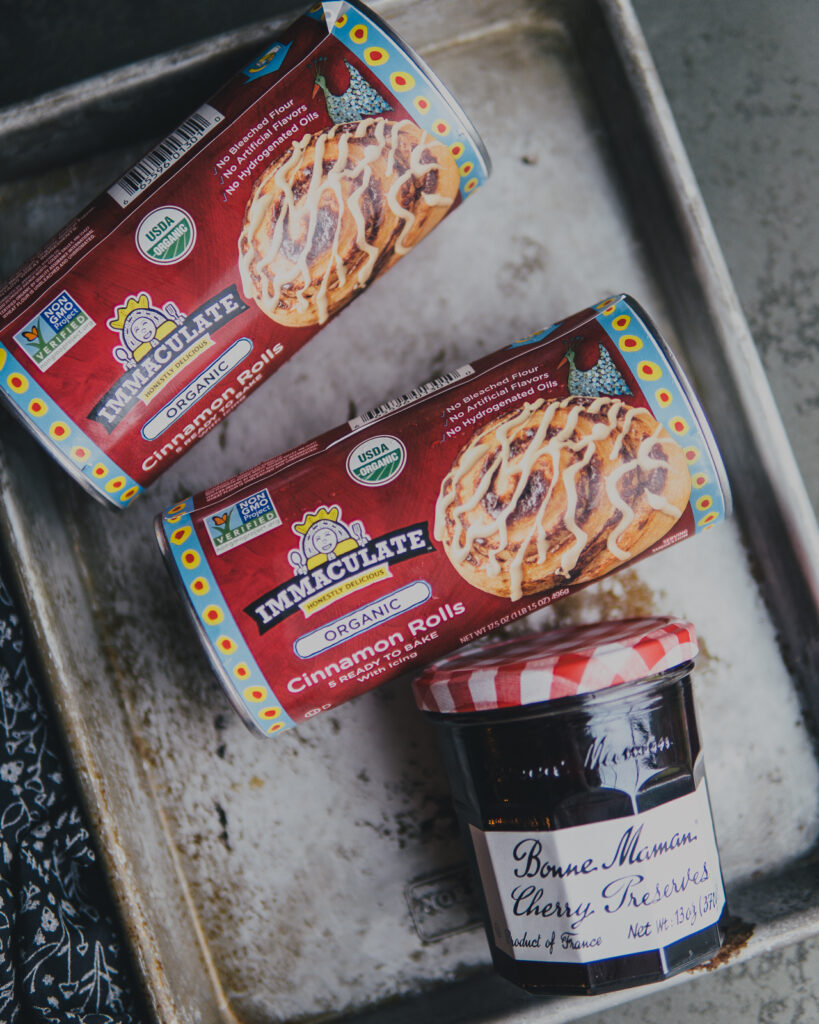
Believe it or not, this recipe only requires two ingredients!
- 2 packages cinnamon rolls – Packaged cinnamon rolls are a nostalgic treat that make your mornings super easy!
- Cherry jam – Cherry jam is perfect for these Gory Guts Cinnamon Rolls. Not only does its bright red color make it look especially bloody, it also tastes delicious on top of your cinnamon rolls!
The preparation.
Follow the instructions on the cinnamon roll package.
Preheat the oven to 350°F.
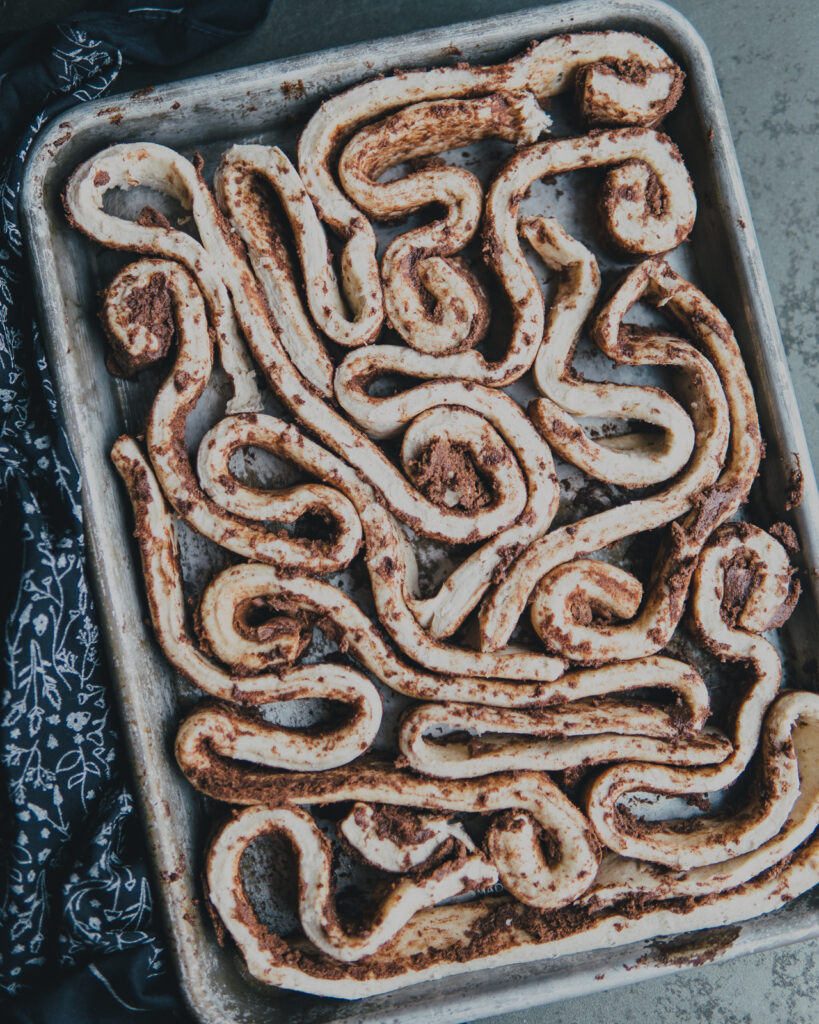
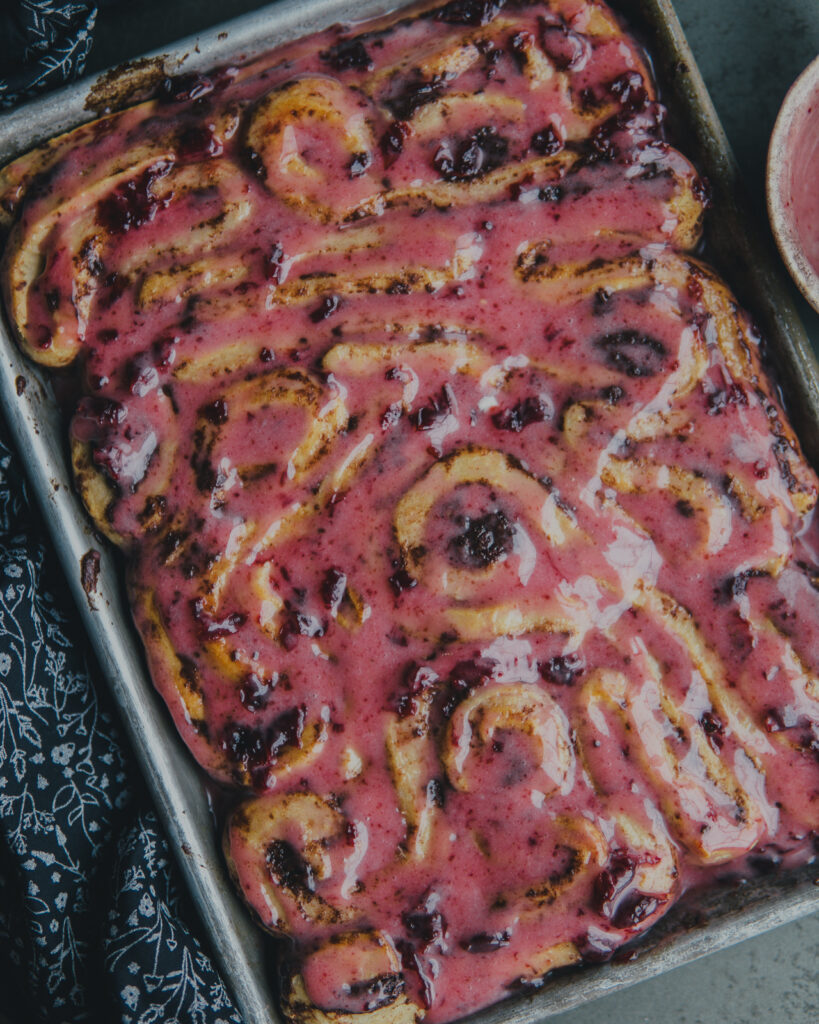
Lightly spray a quarter baking sheet with cooking spray. You could also lightly butter it with unsalted butter. Remove the cinnamon rolls from the packaging and unroll the buns. Twist and coil the unraveled cinnamon roll dough to create the “guts.”
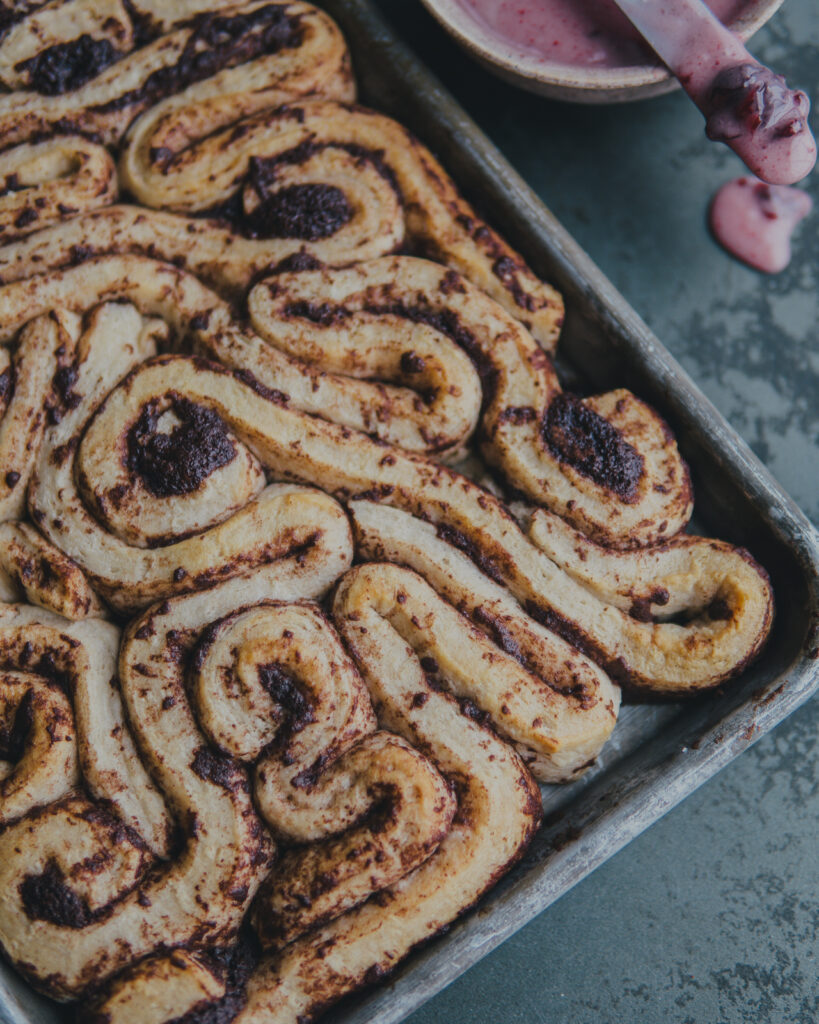
Bake your cinnamon rolls for 18-22 minutes or until they’re fully cooked and lightly browned.
While the cinnamon rolls are baking, mix the icing included in the package with the cherry jam.
Remove the tray of cinnamon rolls from the oven and let them cool for 5 minutes before frosting with the “bloody” icing.
Make your own cinnamon rolls.
Packaged cinnamon rolls make for a tasty and easy breakfast, but if you’d prefer to make your cinnamon rolls from scratch, I got you!
Thankfully, I have an amazing recipe for Black Walnut Cinnamon Rolls With Brown Butter Cream Cheese Frosting. You’re going to do a few things differently to make your Gory Guts Cinnamon Rolls.
Follow the directions to make the cinnamon roll dough. When you roll out the dough and add the filling, omit the black walnuts. When you form the cinnamon rolls, twist and coil the dough to create the “guts.”
Bake your cinnamon rolls according to the recipe instructions.
Make the frosting according to the instructions and add red food coloring and cherry jam.
My favorite thing about the cinnamon roll recipe is the dough can be made the night before and left to proof overnight in the fridge, so your mornings will be just as easy as if you used the packaged cinnamon rolls! Pop those babies in the oven and you have a sweet and delicious breakfast (plus the gore, of course).
Looking for more spooky Halloween recipes?
Lastly, if you make this Gory Guts Cinnamon Rolls recipe, be sure to leave a comment! Above all, I love to hear from ya’ll and do my best to respond to every comment. And of course, if you do make this recipe, don’t forget to snap a pic and tag me on Instagram! Looking through the photos of your dayyyummm good recreations is my favorite!
This post contains affiliate links that will not change your price but will share some commission.

Ingredients
- 2 packages cinnamon rolls
- ¼ cup Cherry jam
Instructions
- Preheat the oven to 350°F.
- Lightly spray a quarter baking sheet with cooking spray. Remove the cinnamon rolls from the packaging and unroll the buns. Twist and coil the unraveled cinnamon roll dough to create the “guts”.
- Bake for 18-22 minutes or until fully cooked and lightly browned.
- While the cinnamon rolls are baking, mix the icing included with the package along with the cherry jam.
- Remove the tray from the oven and let it cool for 5 minutes before frosting.